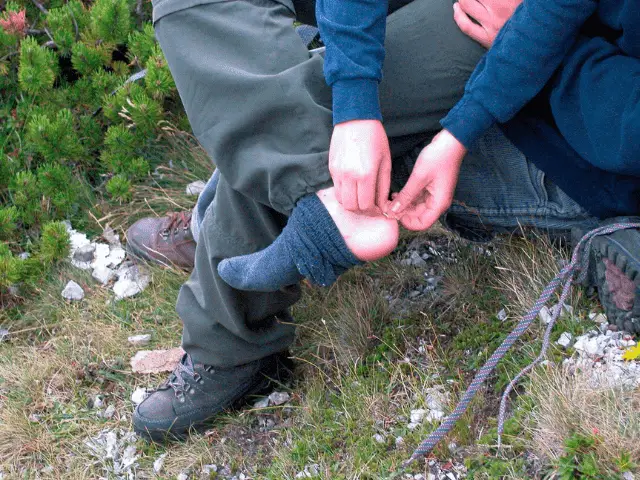
There are few things worse on the trail than having to deal with blisters when hiking. Blisters can, literally, make every step anywhere from uncomfortable to unbearable. You could be on the best trail, with amazing views and yet the only thing you’ll be able to focus on is the pain emanating from your foot.
Stop blisters when hiking by getting quality, proper fitting gear including a good pair of socks and well-fitting boots or shoes. Next, keeping your feet clean and dry are important for helping to prevent blisters when hiking. Finally, make sure to have a first aid kit to treat any blisters should they occur.
But, what if you follow all the steps to prevent blisters and still end up with one on the trail? We’ll discuss how to treat and manage them if you find yourself in that situation.
How to Prevent Blisters When Hiking?

Having quality hiking boots that fit properly is the most important step into preventing blisters.
First and foremost, do your research and get yourself a great pair of shoes or boots and a great pair of socks. Blisters come from friction. Friction happens when your foot is not snug and secure in your shoe. When something is loose then rubbing occurs. It may even be minor, but that slight friction from your foot rubbing against your shoe over thousands of steps works the same way a river cuts out a canyon.
Friction most easily occurs with poorly made or poor fitting socks and shoes. Wearing shoes or boots that are not designed well, not constructed well or made of sub-par materials is almost a guarantee of dealing with blisters. This is not the place where you want to cut cost by cutting corners. If you’re going to make any investment towards your hiking adventures, this is the place to spend your money.
Also, make sure they’re a good fit. Even a great boot can cause blisters if they don’t fit well. Does the brand you’re buying have a reputation for running small or large? Do you need a wide or narrow shoe? What type of arches do you have? These are all questions you should know the answers to when deciding on your footwear.
Always check the return policy of the shoes you’re buying. Often times even wearing them around the store isn’t enough to truly know how they’re going to fit your foot. After your purchase take them out for a short walk or hike and see how your feet respond in them. Keep in mind that some boots are known for taking longer to break in than others.
Again, it’s worth taking the time to do your research. Having said that, if the boots don’t feel quite right during a short hike, it’s probably not going to improve on a full hike.
Now let’s talk socks. Socks are overlooked way more than shoes. When you think about it, this doesn’t really make a lot of sense. Your socks are what is going to be touching your skin the whole way. If there is an issue with your socks, you’re going to be in trouble and fast.
I cannot emphasize this enough. Do not wear cotton! Cotton soaks up sweat, aka moisture, and moisture inside your boot is your worst enemy. Moisture creates friction and like we discussed earlier, friction creates blisters. Wool is typically the recommended material for hiking socks, however their are plenty of great vegan socks you can get that are made of synthetic materials.
Expect to pay a little more than you’re used to for a pair of socks, but again this is an investment that’s worth making.
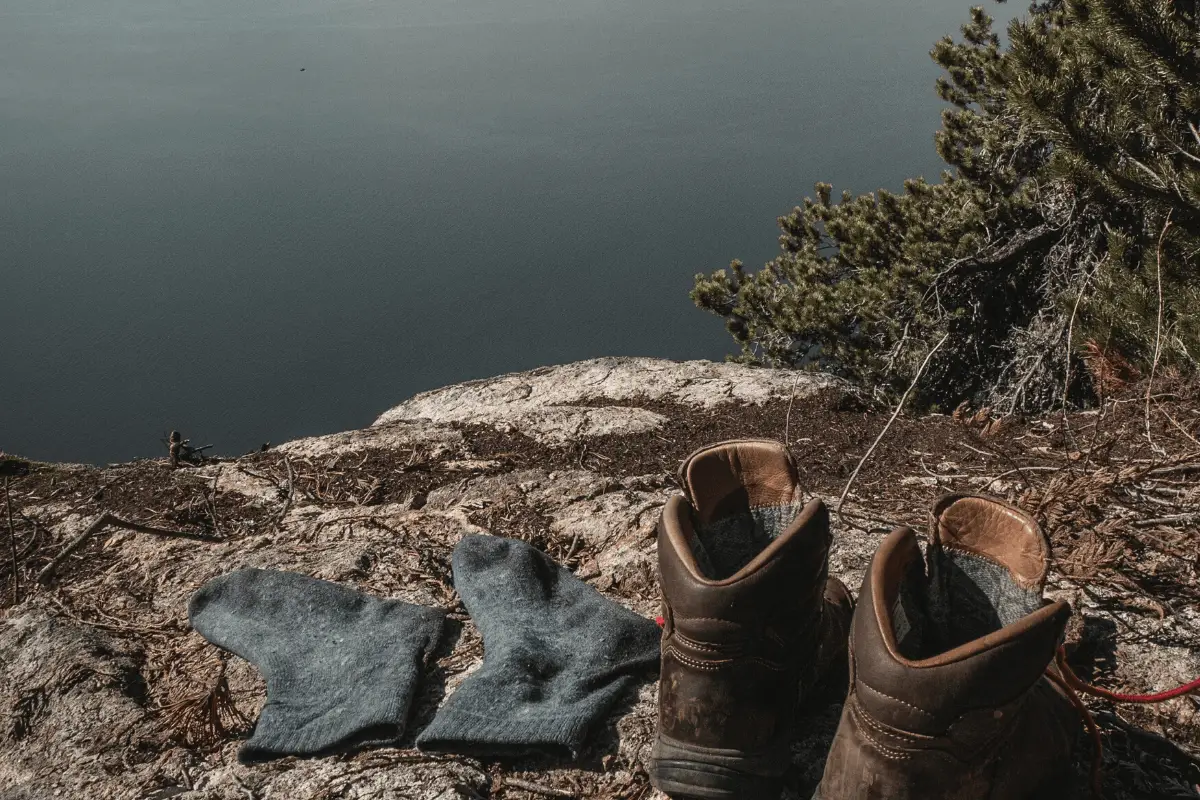
One final note when it comes to socks. If you’re doing a long day hike or especially for overnight hikes, bring multiple pairs of socks. At the end of the day or even if you’re stopping mid day, change your socks. Hang the pair you just took off onto your pack so they can air out and dry (make sure they’re secure!).
Clean your feet off, let them them air out and put on a fresh pair of socks. This can go a long way toward keeping your feet dry and healthy.
How Do You Treat Blisters When Hiking?

The next couple of paragraphs are going to assume that you’ve brought your first aid kit with you on your hike. If you’re planning a hike that is anything more than about an hour then you should have a first aid kit with you. It’s like the spare tire in your trunk. It’s not important until it is and when it is… IT IS.
When you notice a blister coming on, often referred to as a hot spot, stop immediately. Take your boot and sock off and assess the area. If you did catch it early enough then apply some antibiotic and a bandage to the spot. Then, cover it with duct tape. Yes, Duct Tape. Placing duct tape over the area will reduce the friction between your skin and your boot. This will hopefully keep a full fledged blister from forming.
You missed the “catch it early” opportunity and now you’re dealing with a fully formed, angry blister. Now what? I’m going to walk you through how to safely and effectively pop the blister. If you’re thinking, “I thought you’re not supposed to pop blisters”, well, technically you’re right.
However, a fully formed blister is likely going to rub and pop itself if you’ve got a decent amount of hiking in front of you. If that’s the case, then it’s best to pop it yourself, so you can tend to it effectively.
First, clean the area with an antiseptic wipe, alcohol or soap and water, depending on what you have access to. Next, sterilize the tip of a sharp object (A knife or a safety pin are both good options) by holding it over a flame or cleaning it with alcohol or an antiseptic wipe. Boiling water will also work.
Use the object to pierce the blister. Pierce the bottom of the blister and then push top down on the blister to push all the fluid out. Do not rip the skin of the blister off. This will open up more surface area that could potentially get infected. Next, clean the blister with an antibiotic ointment.
Now, take out the moleskin that should be in your first aid kit. Cut a piece larger than the blister itself and then cut a hole out in the middle that is just larger than the blister itself. Place the moleskin on the area, essentially surrounding the blister. Take another piece of moleskin and completely cover that piece of moleskin.
Finally, duct tape. Cover the area with duct tape and make sure the duct tape is secure and won’t slide or move out of place.
Can I Hike With Blisters?
Yes. It’s going to be up to you in regard to a variety of factors. Did you have the proper materials to address the blister to manage the blister from getting worse? How much of your hike do you have remaining? How uncomfortable is it and how much can you tolerate? You’re going to have to take all these things into consideration.
If you can manage the blister and keep it clean, then you’re good to go. Now, try not to let it ruin your hike. Keep yourself engaged with conversation, music or the views. Whatever you can do to try and keep your mind off of the uncomfortableness.
How Long do Blisters Take to Heal?
This is tough to answer because it’s going to depend on the severity of the blister. According to Harvard Medical School, most blisters will heal in a couple of days. However, if continued friction occurs then the blister may last several weeks and at that point could end up creating a callus.
What Helps Blisters Heal Faster?
Generally, blisters will heal on their own in a couple of days. Nothing is really needed other than keeping the area clean and dry. If you think believe that there is a more serious issue going on with your blister make sure to see your doctor.
“See your doctor immediately if you think you have an infection, see significant redness, notice drainage that is not clear fluid or develop a fever.” – Harvard Medical School
Final Thoughts
Benjamin Franklin once said, “An ounce of prevention is worth a pound of cure.” Franklin wasn’t talking about blisters or even health for that matter, he was referring to fire safety (ironically another important hiking topic). But, the message applies. It is worth every bit of effort to make sure to pick a great pair of boots/shoes and socks, make sure they fit properly and keep your feet clean and dry.
The alternative is trying to manage a painful and annoying issue that is going to slow you down and make your hike significantly less enjoyable. This is all not to mention you’ll still have to deal with the blister once you get back home.
Get a good pair of footwear. Get a couple of good pairs of socks. Make sure they fit. Bring a first aid kit just in case. Enjoy your hike!

