Being able to read a topographic map with a compass is a bit of a lost art. In fact, being able to read a map (the kind printed on paper that you can fold up and put in your pack) at all is a skill that many don’t possess anymore.
Nowadays turn by turn directions are available right on our phones. Even our smartwatches can be equipped with hiking maps.
But, what happens when that watch runs out of battery or your phone loses service? Sadly, many of us are one dropped phone and one wrong turn from being hopelessly lost in the wilderness.
This doesn’t have to be the case!
Knowing how to read a topographical map with a compass is still a needed skill in the twenty-first century. In fact, a map and a compass are two of the things that you should always pack with you even on a day hike. While topographic maps can be intimidating to look at at first, they’re not as hard to understand as you might think.
In this article, I’m going to teach you what a topographic map is and how to use it along with it’s tag team partner, the compass.
This page contains affiliate links. If you use these links to buy something I may earn a commission. Thanks.
What is a Topographic Map?
A topographic map is a two-dimensional map showing both the natural and human-made features of an area. For example, it can show the route of a city, and it’ll explain everything around it. It can show a hiking trail and the landscape around it. It shows the paths, and it can show mountains, roads, rivers, and lakes. It shows vegetation and trails along the area for the map.
A topographical map isn’t limited to nature trails. The map can show city and street maps and the area around the city. It’s one of the most useful types of maps the average person can learn to read.
Topographic maps show elevations around the area called contour lines. These show areas that could be a hilly or uneven area. These maps help hikers and campers find the right spot for a place to camp. It can help new college kids make their way around their new campus. Some campuses have more hills than they let on. We’ll get into more detail about how this can help you read the map of the area later.
A topographic map is used in many situations:
- Hiking
- Camping
- Hunting
- Fishing
- Urban Planning
- Surveying
- Resource Management
Other than contour lines, there are marks on the map that mark wooded areas as well as railroads. City maps are a form of topographic maps too. At the bottom of the map is a distance scale. The distance scale will tell you how many miles are in an inch. Once you measure how far you are from Point A to Point B, you can figure out how long of a walk or a drive you need to make to get where you need to.
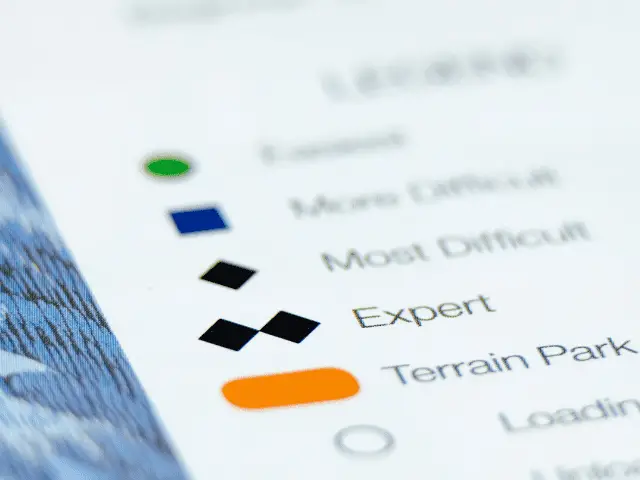
At the bottom, you’ll see different symbols and colorings around the maps. In the bottom corner of the map, it’s called a legend. The legend tells you what the various symbols of the maps mean. We’ll go into more detail about how to use the title later.
How to Read a Topographic Map
When you’re reading a topographic map, there are three factors you need to look at for the most accurate reading:
- Contour Lines
- Scale
- Legend
We went over what all of these things were in the above section. Now, we’ll look at each of these things so you can get the best accurate reading of the map.
Contour Lines
Contour lines make a topographic map special and unique. They make the two-dimensional map look three-dimensional. The closer the contour lines are on a map, the steeper the terrain is. If the lines are farther apart, it’s not as steep in the ground. It’s more of a gentle hill than a mountain. Every five lines, you’ll see a number. That’s the elevation of the area. The distance between the lines is usually anywhere between 40 – 80 feet.
At the top of the mountain, there are circles up top. The smaller circles are the peaks. The bigger rings are gentle hills. REI suggests to get a map of an area you’re familiar with and look around on the map to see if you can pick out the peaks and hills in the area.
Scale
As we mentioned earlier, the scale will give you an idea of the size of the area. The smaller the scale, the lower the field. There will be more detail in the smaller-scale maps than in the larger-scale maps.
To get a rough idea of the distance of your hiking trail, you can take your compass and a string and put it at the edge of the map. You’ll have a rough estimate of the hiking distance on the map.
Legend

As we mentioned above, the legend has different symbols on the map and tell you what they mean. For example, if you’re going up a steep hill and find lots of green on the map, that means there’s vegetation there. The darker the green, the denser the area. The area could be trees, ferns, or various other plants that are along the trail.
Reading a Topographic Map with a Compass
Now that we know how to read the topographic map, we can add the compass to it. A compass is a tool that no hiker, camper or backpacker is willing to go without. Even if they have a compass on their phones, they’re going to buy a compass they can hold in their hands.
A compass has a unique design to help backpackers read a map and get an accurate reading of where they are on the map and the distance it takes to get from one landmark for another.
To use a compass on a map:
Look at the bottom of the map, where you will see an arrow. One arrow will have an N above it. That’s true North. The other one will have another indicator at an angle. That is the angle you need to set the declination scale. The declination scale will mark where the magnetic North is on the map.

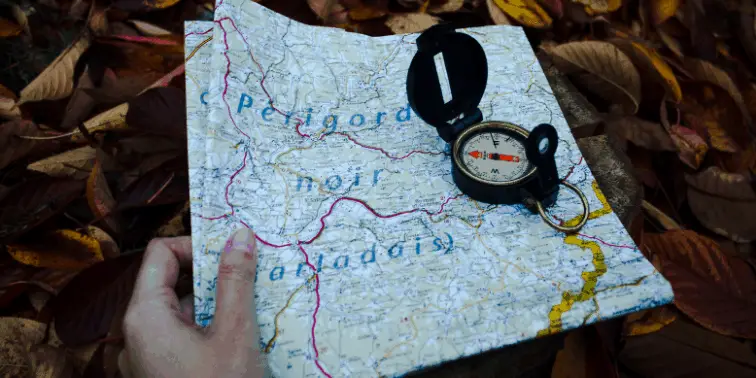
After you set the declination scale, set the compass down on the map, putting the travel arrow to where you want to travel. Make sure the indicator arrow on the compass is pointing North, not South. Otherwise, you could find yourself nowhere near where you want to be. Set the arrow to North. Rotate your body to get the compass to turn North. Then start walking.
You can also use the compass to figure out where you are on the map, too. You take the same steps to find yourself on a map. You draw lines on the map until they meet. Where the lines meet is where you are on the map.
Final takeaway
Learning how to read a compass and topographic map is a skill. It’s going to take time and practice to get good at this skill, the same as learning how to ride a bike and making a campfire. To build your confidence, go to a common area to practice reading a map and a compass. When you get better at reading maps and compasses, you can try hiking in a less usual territory.
Over time, you’ll get so confident you’ll be able to walk into an unfamiliar area and navigate it as you lived there.
Even with cell phones having maps programmed in them, being able to read a map with a compass is a valuable skill. Phones can die. Data could be near impossible to get if you’re in an area that’s a dead zone. You will never worry about being lost once you’ve mastered the skill of reading a compass and a topographic map.
To be honest, you may rarely ever have to pull out the map and compass while you’re hiking.
However, like with most essential hiking items, they’re only essential when you absolutely need them. A firestarter isn’t necessary until you need to get a fire started once you realize you’re going to be spending a night in the woods you didn’t anticipate. A LifeStraw isn’t essential until you need to filter clean water in an emergency.
The same holds true with a topo map and a compass. It’s always better to have it and not need it, rather than need it and not have it.
Stay safe out there!


